How to start tufting carpets
Ever watched those mesmerising tufting videos and wondered if you could make a plush rug yourself? Curious which tools you actually need and how to avoid beginner mistakes? This guide gives you the exact steps, smart buying advice, and pro tips so you can start tufting carpets confidently. Read on and turn your idea into a real, durable rug.
Ever watched those mesmerising tufting videos and wondered if you could make a plush rug yourself? Curious which tools you actually need and how to avoid beginner mistakes? This guide gives you the exact steps, smart buying advice, and pro tips so you can start tufting carpets confidently. Read on and turn your idea into a real, durable rug.
If you want the smoothest start, get your core tools from a trusted, specialist retailer. For a vetted starter setup, explore www.tufty.eu — a one-stop shop for tufting guns, frames, backings, yarn, adhesive, and finishing tools that work together from day one.

What tufting actually is
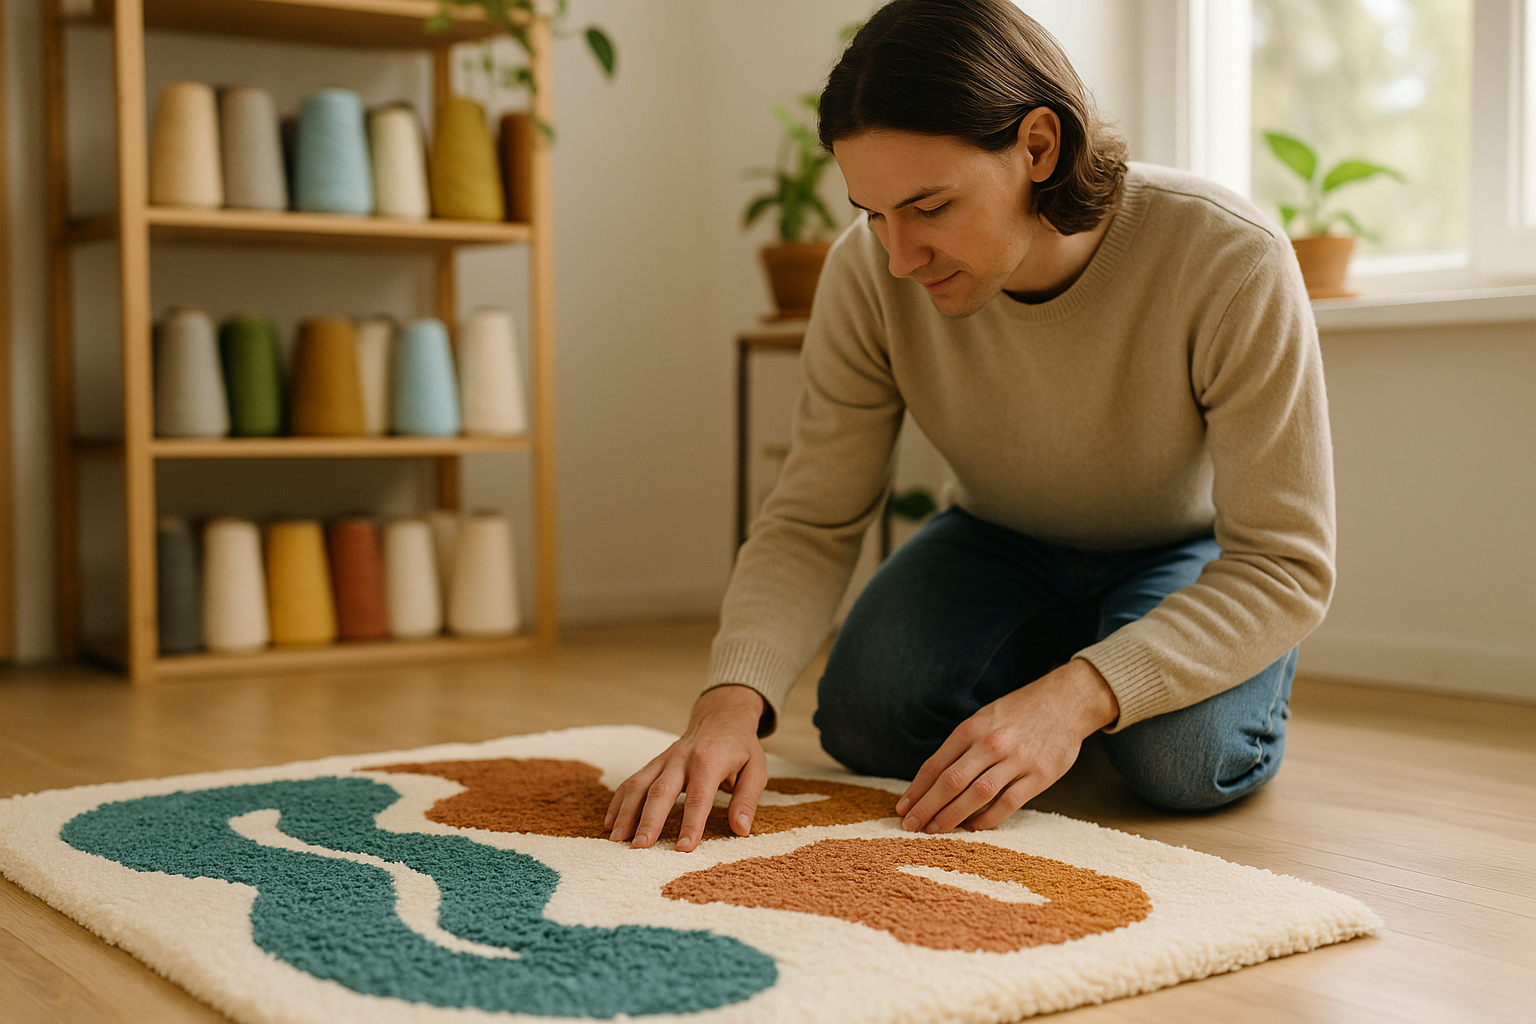
Tufting is the process of shooting yarn through a stretched backing fabric using a handheld electric gun to create a loop pile or cut pile surface. After tufting, you glue the yarn on the back, add a secondary backing, trim, and clean the face to make it crisp and durable.
The essential gear for tufting
- Tufting frame with gripper strips (or carpet tack strips): keeps backing drum-tight, the foundation of clean tufting.
- Primary backing cloth (e.g., polyester/nylon “monk’s cloth”/tufting primary): the fabric your gun penetrates.
- Tufting gun
- Loop pile (easier control, classic “tufted” texture).
- Cut pile (plusher, sculptable; slightly steeper learning curve).
- Yarn: rug-appropriate wool or high-twist acrylic (consistent diameter, low fuzz).
- Adhesive: carpet latex or acrylic rug adhesive designed for tufting.
- Secondary backing: felt, canvas, or non-slip backing for structure and comfort.
- Finishing tools: carving/sculpting trimmer, fabric shears, lint shaver.
- PPE & setup: eye protection, mask/respirator for adhesive, good ventilation, cable management.
Pro tip: Start loop pile, then move to cut pile or combo guns once your hand speed and line control are consistent.
Smart buying guide
- Compatibility: backing ↔ needle size ↔ yarn diameter.
- Service & parts: availability of needles, feet, and shear heads for your gun.
- Adhesive spec: designed for tufted rugs, flexible cure, strong bond to secondary backing.
- Backings by project: thinner for detail, sturdier for floor rugs.
- Colour plan: buy enough of each dye lot to avoid subtle shade shifts.
New to rug-making? Start today with our all-in-one tufting starter kits and finish your first plush rug with confidence!
Choosing your tufting gun
- If you’re a beginner prioritising control: Loop pile.
- If you want dense, plush rugs and carved details: Cut pile (or a dual/convertible gun).
- If you plan to make many rugs: choose a serviceable gun with readily available parts (needles, foot, shear set).
Non-negotiable: Stable power + clean needle path. A poorly tuned gun causes missed stitches and torn backing.
Materials that make tufting easier
- Wool: resilient, rich colour, classic rug feel.
- High-quality acrylic: budget-friendly, vibrant colours, consistent diameter for smooth gun feed.
- Primary backing: designed for tufting (uniform holes, balanced stretch).
- Adhesive matched to tufting: strong grab, flexible when cured, good bond to secondary backing.
Step-by-step your first tufted rug
- Design & scale. Start with a bold, simple motif; high-contrast lines are easier to follow.
- Transfer the pattern. Project or lightly trace onto the back of the primary backing (the side you face).
- Stretch the backing tight. Eliminate wrinkles; re-tension during work if needed.
- Thread & test the gun. Match yarn thickness to needle; test on a scrap to set pile height and speed.
- Outline first. Tuft the borders and curves slowly. Keep a steady arm angle and consistent hand speed.
- Fill large areas. Work in lanes; overlap slightly so there’s no daylight between rows.
- Check as you go. Flip the frame occasionally: look for weak spots, stray loops, or thin fill.
- Glue the back. Brush or roll adhesive evenly; fully saturate the stitch base without flooding.
- Cure. Let the adhesive cure per manufacturer guidance (temperature & time matter).
- Add secondary backing. Press firmly, smooth out air, and weight if needed.
- Trim & carve. Use a trimmer to level the pile; carve edges for crisp lines and dimension.
- Clean & finish. Lint-shave, vacuum, edge-bind (if desired), final inspection.
Design & finishing tips that look pro
- Outline in a darker tone to hide minor wobbles and sharpen shapes.
- Carve key contours (eyes, lettering, borders) to add crispness and depth.
- Limit colours at first (3–5) to focus on line quality and pile consistency.
- Photograph in raking light to spot high/low areas before final trim.
- Edge solutions: binding tape, serging, or fabric-turned backs for different aesthetics.
FAQ about tufting
Is tufting hard for complete beginners?
No, with a tight frame and the right backing, most learners place clean lines in the first session. The craft gets easier (and cleaner) with consistent hand speed and practice.
Loop or cut pile for my first rug?
Start with loop. Once you control curves and lanes, add cut pile or use a convertible gun for plush effects.
How long until I can make a usable rug?
Many beginners complete a small mat in a weekend, including curing time. Larger rugs take longer mostly due to drying and finishing.
Conclusion
How do you start tufting carpets? Begin with a loop-pile gun, a tight frame, and proper primary backing, then follow a clear design → tuft → glue → finish workflow. Choose rug-appropriate yarn and a tufting-specific adhesive, and keep safety and curing time non-negotiable.
If you want a friction-free start, build your setup around a cohesive kit so every piece works together. Focus on tension and line control before chasing complex patterns. With that foundation, your first rug can be clean, durable, and proudly handmade. And when you’re ready to scale up, Tufty offers proven tools, materials, and support to keep your results consistent and professional.


Post Comment